Pages

Showing posts with label vegetarian. Show all posts

Saturday, June 3, 2017

My Favorite Way to Eat Vegetables

I ate most of this in one sitting....
If I've ever made you dinner, or if you have me on SnapChat, or honestly, if you let me tell you about food at all, you're probably well-aware that I love roasted vegetables. Especially broccoli. Like, I know it's lame, but I'm pretty sure roasted broccoli is my favorite food. I eat it almost every day. If not broccoli, it's probably Brussels sprouts. All roasted. Always. It's the best way to eat vegetables, I promise. It's also vegan friendly, if you're into that. Oh yeah, highly recommend dipping the broccoli in hummus. I love.

I got you a new phone background.
The day I made this, my car broke down. I'd love to say it came out of nowhere, but I like to think we're all friends here, so I'll admit that it was a part my dad told me to fix a month or so ago. So.....lessons learned. Sorry Daddy. But I digress.
Anyway, I pulled out of the apartment I'm currently trying to sign a lease at, and realized my power steering had quit. Have you ever had to use your entire body weight to move the steering wheel? It's interesting. So, I pulled into the nearest parking lot and called my dad, who probably would've laughed at me if he'd been in a better mood, and then informed me that I couldn't drive the car. While I was freaking out to him, for some reason trying to talk him into saying it was okay to drive, a man appeared. He told me that he was the owner of the bike shop (which apparently was the parking lot I pulled into) and that he knew what was wrong with my car and was willing to go buy the part for me and put it in.
I was shocked and confused and explained it to my dad on the phone, who told me to take help where it's offered. The man (his name is Paul, he owns the bike shop on the corner of NW 6th St. and NW 21st Ln. support his business if you're a Gainesville local.) proceeded to fix my car, and only asked that I reimburse him for the parts and buy him a lottery ticket, even though I offered beer and cash. As someone with a stats background, this feels like a stupid statement, but I really hope he wins. I returned the next day with cookies. I don't know how I got so lucky. All I can say is that God was keeping an eye on me. 


Sometimes good things happen. Celebrate with broccoli, that's what I did.

Roasted Veggies
1 head of broccoli/1 lb. Brussels sprouts/1 lb. green beans/1 sweet potato/etc
3 tbsp olive oil
salt
pepper
garlic powder

  1. Place the veggie of your choice on a baking sheet lined in foil in a single layer.
  2. Drizzle with the olive oil and toss to coat. It's okay if they aren't all coated, they just need a little sheen.
  3. Season to taste.
  4. Bake at 425. For broccoli, I find that it's best after 20 minutes, Brussels sprouts are great after 25, green beans take 20, and sweet potatoes take more like 30-40, depending on size. You just want the vegetables to be cooked through and golden brown where they touched the foil. So good.

Wednesday, January 18, 2017

BBQ Hummus

Hi squad. Happy 2017. How are we feeling about this year so far? Are you a resolutions type of person? I'm not, but I think it's just because I make goals for myself constantly, so making even more at the start of a new year seems almost redundant. But anyway, this little paragraph is probably redundant, since the year started 18 days ago. Whoops.


But anyway, this year so far: I baked quite possibly the best thing I've ever made about a week ago now. It was this babka from How Sweet Eats and oh my goodness. I didn't make it into muffins but kept them in little swirls like cinnamon rolls. They were buttery and chocolate and fluffy in all the best ways. I'm sort of in love with dough right now. Bread doughs are fun for me because they need just a bit more finesse than other stuff, and I like having my hands busy. I've made cinnamon rolls in the last week and I'm not slowing down. Sorry. Recipe to follow.


In other news, I watched my first anime all the way through and I don't know how I feel about it, but I can definitively say that Yuri on Ice was really good and made me feel things. Also on the TV topic, I'm watching Series of Unfortunate Events and WOW. It was basically my favorite book series growing up and I love the Netflix adaptation so much. NPH as Count Olaf originally made me nervous but he nails the characterization perfectly. I'm on a nostalgia high like no other.


Last few things: I'm trying to pick guitar back up, which currently involves a whole lot of sounding like crap while one of my friends "teaches" me, which mostly involves him making fun of me. I spoke Spanish to a customer at work for the first time yesterday and the look of gratitude she gave uncomfortable, awkward me made it so worth it. I was given almost 20 pounds of flour recently, so baking will not be slowing anytime soon. Buy me flours, not flowers, friends. Sorry.

BBQ Hummus
Ingredients
2 cans of chickpeas (only drain one of them)
2 tbsp garlic, minced
1 tsp chili powder
1/2 tsp cumin
2 tbsp olive oil, plus more for the onion
1 small onion, cut thin
3 tbsp BBQ sauce

  1. Put the onions in a pan with a bit of oil over medium low heat. Saute until translucent.
  2. Meanwhile, Combine the other ingredients (minus BBQ sauce) in a blender or food processor until smooth. Place in serving dish.
  3. Once onions are translucent and soft, add BBQ sauce, removing from heat when totally combined.
  4. Top the hummus with the BBQ onions, or stir them in if you'd prefer. Serve with chips or anything else you'd like.

Monday, September 26, 2016

The Blog is Back!


I made pie. And it looks a mess, but that's okay because I'm mostly just excited to tell you that I'm back and I love food and cooking and sharing food with the people I love.


So, this summer I ended up disappearing because I was studying for a cute and fun little test called the MCAT. Ha. No. I did study for and take the MCAT (no score yet), but it wasn't cute or fun. I think the test went well, but getting to test day was mostly filled with frustration, crying, and too much coffee. (oh yeah, if you follow me on Insta you know that I like coffee now. not sure what that's about, but.....).


Anyway, here's some thoughts on the MCAT, medicine, and life in general. 

If you saw the hot freaking mess I was during Spring semester, you're probably wondering how and why I ended up studying for the MCAT anyway. Well, here's the thing. I never really stopped wanting to be a doctor. I had an exceedingly rough Fall of my junior year, and emerged with a new major and a whole lot of sadness in my heart. Basically I felt like I'd failed at being a biochemistry major and a premed and was, honestly, worn out and tired of spending every second of my life in the library with anxiety and exhaustion clouding my brain. Science, particularly medicine, had come to symbolize everything I wanted and couldn't achieve. 
In a lot of ways, I stopped thinking I could do it. But it never left my mind. Thinking about doing something other than being a doctor, while exhilarating at first, terrified me in more than a "fear-of-the-unknown" kind of way. It hurt a lot.
Finally, after a semester of watching my wallow, my mom gave me a piece of mom-wisdom in a Mexican restaurant, and I cried and decided to try again. The mom-wisdom? "You're selling yourself short if you just walk away from this and don't even try. There's no reason why you can't be a doctor as a psych major." Thanks Mom.
And then, something amazing happened: I realized that I actually like science. I actually love the human body. I love knowing how metabolism works. And, weirdly, I kind of love studying (when I'm not caffeine crazed and hyper-emotional). I was studying because I wanted to, and taking the MCAT because I wanted to. And it felt so good. I remembered why I wanted to be a doctor in the first place.

On test day, I walked into the testing center feeling more peaceful than I would've thought possible. The test was my victory lap at the end of 4 long months of hard studying. It was the cherry on top.

And so, pie. I made it awhile ago, I know peaches aren't really in season anymore. But please appreciate it anyway. I'll have something a little more seasonally appropriate soon.


Blueberry Peach Streusel Pie
Ingredients
crust:
12 graham crackers, pounded into crumbs
1 stick of butter

filling:
4 peaches, cut into chunks (I didn't peel them)
3/4 cup blueberries
1/2 cup brown sugar
1/4 tsp salt
2 tsp corn starch
juice of 1 lemon

streusel:
1/2 cup oats
1/2 stick of butter
2 tbsp brown sugar
1/2 tsp cinnamon
1/4 tsp salt

  1. Melt the butter and stir in the crumbs. Mash into a greased pie pan, making sure you get the sides. Put into the fridge while you make the filling.
  2. For the filling, gently combine the fruit with the other ingredients. Let sit for 5 minutes so the fruits can release a little juice.
  3. Add filling to the pie pan.
  4. To make the streusel, melt the butter and stir in the other ingredients. Scatter on top of the pie.
  5. Bake at 350 for 25 minutes. If the top starts to burn, cover it with foil. We ate this with whipped cream, but vanilla ice cream would be pretty amazing too. Enjoy!

Wednesday, June 22, 2016

Thai Chickpea Burgers


I grew up in a very carnivorous household. I'm pretty sure that the idea of a bean burger is downright offensive to my parents (hi Mom and Dad. please let me come home still.). As a result, I didn't try a bean burger for the first time until I was in college (desperate times in the dining hall freshman year). To my surprise, it was really good. I personally don't enjoy veggie burgers, but bean burgers are different enough that they don't disappoint my raised-on-grade-A-beef taste buds.


Am I saying that these will make you want to ditch meat forever? No. Definitely not. I wouldn't want to either. That being said, these are a nice way to switch things up and save a little cash. Just don't expect them to be like meat. They aren't. They're very different in both flavor and texture. But different is good. Trust me.

Thai Chickpea Burgers
Ingredients
1 can chickpeas
1 can canellini beans
1 egg
1/2 cup breadcrumbs
1/3 cup shredded carrot
1/3 cup fresh cilantro, chopped
1/4 cup peanuts, roughly chopped
sesame oil for cooking
buns

sauce (adapted from How Sweet Eats)
1/2 cup Thai chili sauce
1/4 cup rice vinegar
1/4 cup coconut milk
2 tbsp peanut butter
1 tbsp soy sauce
1 tbsp sriracha (or more/less, depending on your spice preference)

  1. Start by making the sauce. Combine all of the ingredients in a small pot over medium heat. Stir until smooth. Bring to a simmer and allow to cook for about 1 minute. Let cool, and sauce will thicken.
  2. Mush the beans using a potato masher or fork. If you want smoother burgers you can use a food processor or blender, but I don't mind minor chunks. It adds texture in my opinion.
  3.  Add the egg, breadcrumbs, carrot, cilantro, and about 1/2 a cup of the sauce.
  4. Form the mixture into patties. I made 4 but they were pretty big, so it's up to you. Sliders would be yummy! The mixture is going to be pretty sticky and wet.
  5. Add the burgers to a pan with a little bit of sesame oil over medium high heat. Cook for about 5 minutes on either side.
  6. Serve the burgers topped with the sauce and some chopped peanuts. Enjoy!

Wednesday, June 15, 2016

Bubble Bread


Hi there. Welcome back to Kimmie's Kitchen. Here's more of Carbfest 2k16. I'd apologize, but I'm not sorry. Not at all.

Did you guys watch the Tony's on Sunday? I don't ever watch award shows, but, like any good theatre nerd (even one who hasn't touched a stage since 2013), I was in front of my best friend's TV on Sunday night cheering every time Hamilton won. All eleven(!) times. I also cried during pretty much every speech. I'm not kidding. Especially Renee Elise Goldsberry and Lin-Manuel Miranda. Wow.

My current oven situation
But anyway, on to talking about this bread. It's so good. I'm a little embarrassed to call this a recipe, but here we are. It's basically monkey bread with chocolate, and if you're anything like me you'll agree that chocolate always improves food. This is the perfect thing to bake and then take to a friend's apartment late at night. That's what I did with it anyway. I highly recommend doing the same. 

Also, you can totally bake this in the little ovens we have in Infinity Hall. It's doable, I promise. As evidenced by the above photo. 


Bubble Bread
Ingredients
1 can refrigerated biscuit dough
16 unwrapped Dove chocolate promises (or you could use Hershey's kisses or any other little chocolate chunks)
4 tbsp salted butter, melted
1/2 cup sugar
1 tbsp cinnamon

  1. Cut each biscuit in half. Roll each half into a ball around a piece of chocolate.
  2. Blend together the sugar and cinnamon.
  3. Roll each ball in butter then in the cinnamon sugar to coat thoroughly. Stack in a loaf pan. Repeat until all balls are coated and stacked.
  4. Bake at 350 for 25 minutes. If the top gets too brown, cover with foil and continue baking. Enjoy!

Wednesday, June 8, 2016

Ombre Smoothie Stacks

Look, I have friends! 
I feel like a lot of my recent posts have started with me talking about how excited I am for summer. This one won't be an exception. It's still summer, this recipe is summery, and I'm still excited. So there. Happy summer. Enjoy a colorful smoothie stack.


Fun thing about this: I made it in Infinity Hall at UF, the lack of kitchen can't stop me. All you need is a blender, lovelies. A freezer helps get a pretty stack but it isn't required. We give you ice, which is a pretty key ingredient. You can handle this recipe, even if you live in the land of no kitchens. You know you wanted to buy a blender anyway (or even one of those cool Magic Bullet things).


Speaking of UF....I'm starting my senior year (or maybe it's already started, summer semester is confusing). WHAT? I honestly still have days where I wake up and have to remind myself that this is COLLEGE. It's weird because I don't feel adult or anything and I definitely thought that would've happened by now. But instead I'm just here, living my life. Maybe when it ends, I'll suddenly understand? But guys, I still feel 17 and I still feel just as much awe that I'm actually in COLLEGE. Please tell me I'm not the only one.

Ombre Smoothie Stacks
Ingredients
honeydew layer
2 cups honeydew, cut into chunks
8 oz vanilla yogurt (I used low fat)
1 cup ice

pineapple layer
2 cups pineapple chunks
1/2 cup coconut milk
1 cup ice

watermelon layer
1 cup watermelon chunks
1 cup ice
  1. Blend each layer individually, starting with the honeydew.
  2. Pour into glasses and freeze as you make each additional layer. When you pour the upper layers, be careful, but when they mix a little you'll get to see the ombre, so don't stress too much. Enjoy!

Wednesday, April 27, 2016

South of the Border Hummus


I love hummus. I love the stuff out of the container. The plain, the roasted garlic, the lemon. I love it on crackers, on tortilla chips, with veggies, with chicken, on potato chips (is that weird?). I just love it.


So, of course, I topped it with veggies and beans and other things that reminded me of southwest-y flavors. You get it, right? That's how our friendship works. I make (sometimes weird) stuff. You look at it. You don't judge me. It's perfect.

South of Border Hummus
Ingredients
2 cans chickpeas
juice of 1 lime
1/3 cup olive oil
1 tbsp garlic, minced
1 avocado
1/2 tsp salt
1 tomato, diced
1 ear of corn, removed from the cob
1/4 cup black beans
1/4 cup fresh cilantro, chopped

  1. Using a food processor, blend together the chickpeas, lime juice, olive oil, garlic, salt, and avocado until smooth. You may need slightly more oil.
  2. Add the hummus to the bowl, or whatever serving vehicle you plan on using. Top with the tomato, corn, black beans, and cilantro. Enjoy with chips or crackers or anything else you want!

Wednesday, February 10, 2016

Smore Stuffed Baked Apples


Oh my gosh you guys. These apples. I can't even tell you how good they are. These are baked apples filled with buttery graham cracker crumbs, dark chocolate, and topped with toasted marshmallows, whipped cream and vanilla ice cream. Wowwwww. Love.


And I mean, they're made of apple, so they're healthy, right? I feel like they count. You agree? Okay, perfect. This is why we're friends.


The gooey marshmallows. I can't.
Also, does anyone else have a weird obsession with Diners Drive-ins and Dives? Because, um....I sort of do. Not because of Guy Fieri, because, well, he's....not my fave. But the concept of the show? 10/10.


Guys, make these. These are the type of dessert you make for other people. That's what I did. Share it. Love it. Let's be honest, you're probably only going to eat half of one anyway. They're really rich. But wow.


S'more Baked Apples
Ingredients
6 big apples (I used Fuji)
8 graham crackers
1 stick salted butter, melted
1 bar dark chocolate (I used Hershey's because yum)
9 jumbo marshmallows, cut in half horizontally
whipped cream
vanilla ice cream
caramel sauce
chocolate syrup
  1. Core each apple. I did this by carefully cutting a circle around the stem, then spooning out the rest of the core, leaving the bottom of each apple intact.
  2. Crush the graham crackers into a fine crumb, resembling sand but a few bigger crumbles are okay. Stir in the melted butter. Spoon into each apple, filling about halfway.
  3. Add a few squares of chocolate to each apple, so there is only a little room at the top.
  4. Bake at 400 degrees for 35 minutes.
  5. Take the apples out of the oven and top each with three marshmallow halves. Put under the broiler for about 2 minutes, keeping an eye on the marshmallows so they don't burn.
  6. Remove from the oven, and while warm top with whipped cream and vanilla ice cream to taste. Drizzle with the caramel and chocolate syrup. Sprinkle on any extra graham cracker filling and chopped extra chocolate. Enjoy!

Wednesday, January 27, 2016

Bruschetta

So. Let's talk about High School Musical. 


There was the ten year reunion recently, which I didn't watch for whatever reason. But I mean, Zac didn't even show up, so how was that going to be worth my time?

That being said.....it's junior year of college, and as I write this it's a Sunday morning, and my best friend and I are sitting on the couch watching High School Musical. I have no regrets. This movie is a work of ART.


Let me just say, this movie has so many weird little quirks. For example, WHY DON'T THEY HAVE BACKPACKS?! It is their junior year of high school and you NEED actual supplies during junior year of high school. WHY IS THERE A COMPLEX SUMMATION ON THE CHALKBOARD?! That nonsense is stuff I learned to solve in Calc 2 at the University of Florida, not a little high school in Albuquerque. More importantly, why is there a larger-than-life poster of Troy? Also, their theatre department is hella well-funded even though they have an award winning sports team. That doesn't happen in real life.


The characters and one-liners in this movie are GOLD. Like, freaking Jason with his oblivious "how was your break, Ms. Darbus?" I can't. Also, Troy has a random line about pink jelly which I'm still confused by. There's also Ryan with his flagrant gayness that none of us managed to pick up on when we were ten years old. Ms. Darbus with her anti-cell phone tirades. Beautiful.

Anyways. High School Musical is great. Eat this bruschetta while you watch it with your friends.

Bruschetta
Ingredients
1 loaf Italian bread (or French or Cuban)
3 tomatoes on the vine
1/4 red onion, chopped
2 tsp garlic, minced
4 tbsp balsamic vinegar
salt
2 tbsp olive oil

  1. Chop the tomatoes into half-inch chunks. Salt liberally and add to a bowl.
  2. Add onion and garlic, then gently toss with the vinegar. Let sit, preferably in the fridge.
  3. Slice the bread into inch-thick pieces, then drizzle with the olive oil. Toast in a toaster oven or under the broiler. This goes fast (only a couple minutes), keep an eye on it!
  4. When bread is toasted, let it cool. Spoon tomato mixture on top. Enjoy!

Saturday, November 28, 2015

What Should I Eat? 7


Let me tell you about this new, cute, little place that just popped up on University. It's called 3 Natives and I'm a fan. They have these little things you see above, called smoothie bowls. They're fresh, they're fruity, and the bottom is frozen, so it's like healthy (dairy-free) ICE CREAM. Me gusta mucho. The one I got had pineapple, kiwi, strawberries, and peanut butter. I wasn't sure how those flavors would gel with the granola and acai berry smoothie base, but it totally worked. I had mine for breakfast, and it was surprisingly filling. The only downside is that these are sorta expensive (like $8), considering what they are. However, I'll probably recreate them in my kitchen at some point, so get excited for that. In the mean time, splurge and get one of the ones from 3 Natives.

Wednesday, September 30, 2015

Stuffed Sweet Potatoes

Oh my gosh you guys.
So. As of late, if you invite me to your apartment, there's about a 87% chance that I'll end up a) sleeping, b) studying, c) cooking, or, in the case of my best friend's apartment this weekend, d) all three. Yeah. I'm a lot of fun.

Yes, this is going into the potatoes.
While these might not sound like ideal weekend plans or make me seem like the most fun friend to have around, sometimes it results in fantastic things like these sweet potatoes.


Um, yeah. I'm in love with them. Basically, it's fall now, so you can brace yourself for too many a lot of sweet potato recipes up in here. They smell and taste like Thanksgiving to me, and I love them.

Best friends that cook together stay together.
Stuffed Sweet Potatoes
Ingredients
2 sweet potatoes
4 tbsp butter, softened
2 tbsp brown sugar
3 tsp cinnamon
1 tbsp maple syrup
1/4 cup pecans, chopped (or at least broken up)
marshmallows

  1. Poke holes into the potatoes with a fork, then bake at 400 degrees for 45 minutes to an hour (depending on how big they are).
  2. Allow the potatoes to cool slightly until they are still warm but you can handle them.
  3. Slice each potato down the middle, but not all the way through. You want to keep the "shells" intact.
  4. Scoop out the "meat" of each potato into a bowl, mash with a fork.
  5. Add half the butter, all of the maple syrup and 2 tsps of the cinnamon. Mash together.
  6. Carefully spoon the potato mixture back into the little potato shells.
  7. Melt the remaining butter and combine with the brown sugar and remaining cinnamon. Add mixture to each potato.
  8. Top with as many marshmallows as your heart desires.
  9. Turn on the broiler and put the potatoes back into the oven until the marshmallows get nicely browned. This takes about a minute, but it goes quickly, so you should just turn the oven light on and watch it happen.

Wednesday, August 26, 2015

White Pizza with Arugula Salad


White pizza is sort of one of my favorite things, but I hadn't made it from scratch until now. It's garlicky and savory and wow so good. The arugula pushes it over the edge. It's peppery and I topped it with lemon and olive oil for a tangy twist.


Already looking awesome
Yes.


I made my pizza with the dough they sell at Publix. If you want to make it homemade, you can, of course, but I didn't have the time or a rolling pin. I also didn't have a pizza pan, so instead we're having a weird oblong oval pizza. You end up with oddly shaped slices, but oh well.


Hello beautiful
You need to make this. It'll fill your kitchen (and potentially the entire residence hall) with an amazing smell. Praise. You can eat it naked, as above, or add the arugula salad like I did. So so good either way.

Salad Pizza
Ingredients
1 pizza dough
3 tbsp olive oil
3 tbsp garlic, minced
1/2 cup ricotta
1/2 cup mozzarella, shredded
1/2 cup Parmesan, shredded
1/2 cup arugula
1 tbsp lemon juice
salt and pepper


  1. Stretch the dough to fit the pan. It should be about 1/4 inch thick.
  2. Drizzle about 2 tbsp of the oil on the dough. Add 2 tbsp of the garlic.
  3. Spread the ricotta onto the dough.
  4. Sprinkle the mozzarella on top, then add half the Parmesan.
  5. Bake at 400 degrees for 18 minutes.
  6. Once out of the oven, add the remaining garlic and Parmesan.
  7. Cool slightly, then add the arugula to the warm pizza.
  8. Drizzle lemon juice and oil onto arugula, and add salt and pepper to taste. Enjoy!


Wednesday, August 19, 2015

I'm-Not-Good-At-Naming-Things-Don't-Ask-Me Hummus

The name for this post came from my former roommate, who, when I asked her what to name this hummus responded with, "I don't know. It's delicious, but I'm not good at naming things. Don't ask me." So that's the name.


This recipe is also super exciting because it's the first recipe I've made in my dorm kitchen. Also, I know these pictures aren't the prettiest, but lighting isn't great in here, so bear with me. This recipe is also the first one on the blog that's vegetarian AND vegan. So exciting.

Taking pics on the water fountain because that's where the light is
I made this hummus in a blender, which takes awhile, so if you have a food processor, that's probably the better idea. However, I feel like most college students are more likely to have a blender? Anyway, it's totally doable. So is cooking in college, even in a dorm. You've got this.

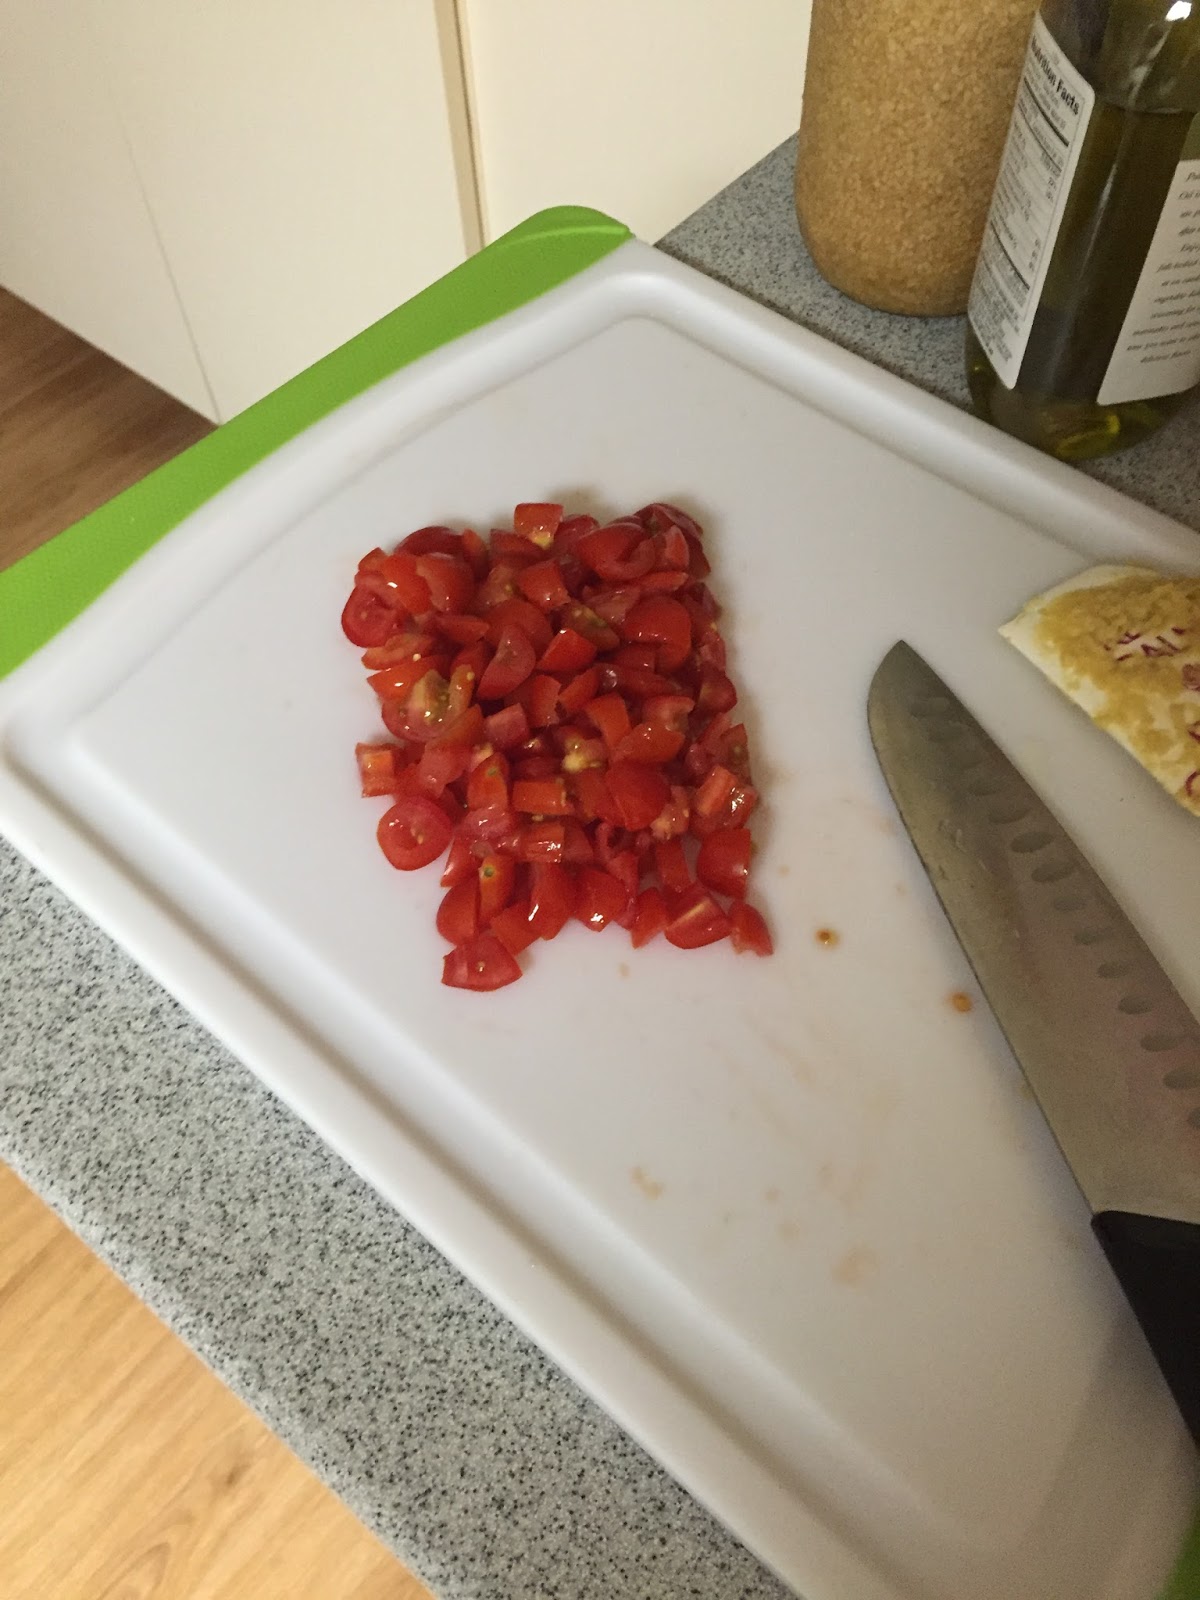
Tomatoes!!!
I made a pretty normal hummus and then topped it with tomatoes and green onions because 1) yum. and 2) pretty! and 3) summer.


Nameless Hummus
Ingredients
2 cans chick peas
2/3 cup olive oil (I also think sesame oil would be really good if you feel like spending that much money on oil)
juice of one lemon
1/4 tsp each salt and pepper
1/2 tbsp garlic, minced
1 pint cherry tomatoes, diced
1/4 cup green onions, chopped

  1. Blend together the chick peas, olive oil, and lemon juice. You're probably going to need to stir around a few times, especially if you're using a blender. When it's smooth, you're done, but it might take a little while.
  2. Pour into a bowl, then add the salt, pepper, and garlic. Stir/mash around.
  3. Sprinkle tomatoes and green onions on top. Serve with pita chips or whatever else you like.